How to Setting Up Wireless Printing to Make Easy Printing
Wireless printing has revolutionized the way we print, providing convenience and flexibility for home and office environments. Setting up a wireless printer may seem daunting, but with the right guidance, it can be a straightforward process. In this comprehensive guide, we will walk you through the step-by-step process of setting up your wireless printer. From connecting to your Wi-Fi network to configuring device compatibility, this article will ensure that you can easily enjoy the benefits of wireless printing.
Quick Navigations
- 1 Wireless Printing: A Step-by-Step Guide to Setting Up Your Wireless Printer
Wireless Printing: A Step-by-Step Guide to Setting Up Your Wireless Printer
Check Printer Compatibility
Before setting up your wireless printer, ensure that it is compatible with wireless connectivity. Look for Wi-Fi-enabled printers that support wireless printing. Check the printer’s specifications or consult the manufacturer’s documentation to confirm its wireless capabilities.
Connect the Printer to Power
Connect your printer to a power source using the provided power adapter. Ensure that the printer is turned off during the setup process.
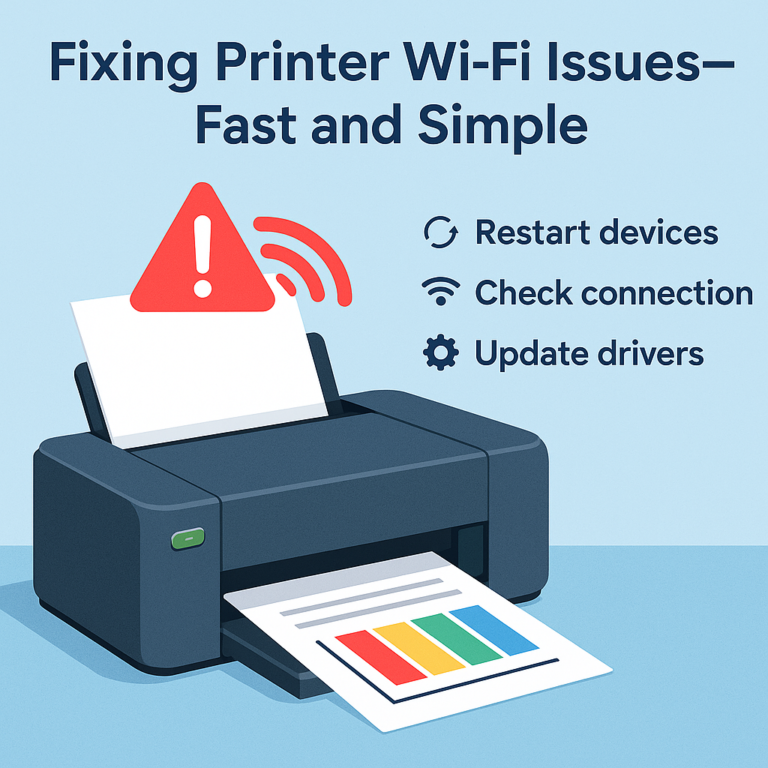
Connect the Printer to Your Wi-Fi Network
Access the Printer’s Control Panel:
Locate the control panel on your printer. This panel allows you to access printer settings and configure network connections.
Using the control panel, navigate to the wireless or network settings menu. The exact location of this menu may vary depending on the printer model.
Select your Wi-Fi Network:
From the available network list on the printer’s control panel, select your Wi-Fi network. If prompted, enter the network password to establish the connection.
Install Printer Software and Drivers
Visit The Manufacturer’s Websites
Go to the manufacturer’s website and search for the printer’s support or downloads section. Look for the software and drivers specific to your printer model.
Download and Install Software:
Download the appropriate software and drivers for your operating system. Follow the on-screen instructions to install the software on your computer.
Configure Printer Settings on Your Computer
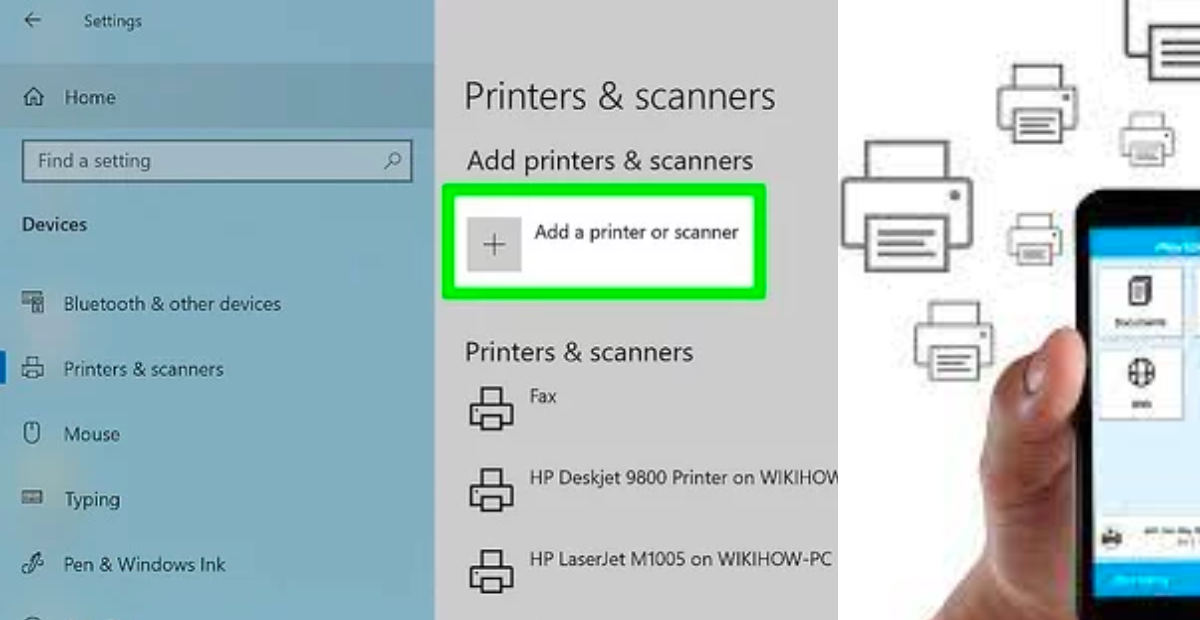
Open Printers and Scanners Settings (Windows):
On a Windows computer, go to the Control Panel or Settings and access the Printers and Scanners section. Click on “Add a printer or scanner” and follow the prompts to detect and configure your wireless printer.
Add Printer (Mac):
On a Mac computer, click on the Apple menu and select System Preferences. Choose Printers & Scanners and click on the “+” button to add your wireless printer. Follow the instructions to complete the setup.
Test Your Wireless Printer
Print a test page or document to ensure that your wireless printer is set up correctly. Verify that the printer responds to print commands wirelessly from your computer or mobile device.
Setting up your wireless printer doesn’t have to be a complicated process. By following these step-by-step instructions, you can easily configure your printer to connect to your Wi-Fi network and start enjoying the convenience of wireless printing. Remember to check printer compatibility, connect the printer to power, establish a connection to your Wi-Fi network, install the necessary software and drivers, and configure the printer settings on your computer. Once set up, you’ll be ready to experience the freedom and flexibility of wireless printing.