Efficient Printer Connectivity and Network Setup: Simplify Printing Workflow
Efficient printer connectivity and network setup are essential for streamlining your printing workflow and ensuring seamless communication between your devices and printers. In this section, we will explore the significance of printer connectivity, different types of connections, step-by-step instructions for setting up wired and wireless connections, an example of a wireless printer setup, and troubleshooting tips to overcome connectivity issues.
Quick Navigations
Printer Connectivity and Network Setup
The Importance of Printer Connectivity and Network Setup:
Efficient printer connectivity plays a vital role in enhancing productivity and convenience in your printing tasks. By establishing reliable connections between your devices and printers, you can enjoy seamless printing capabilities, such as wireless printing and remote printing from various devices. Efficient network setup allows multiple users to share the same printer and enables convenient printing in a networked environment.
Types of Printer Connectivity:
There are several types of printer connectivity options available, including USB, Ethernet, Wi-Fi, and Bluetooth. Each connection type offers distinct advantages and is suitable for different environments. USB connections are commonly used for direct printer-to-computer connections, while Ethernet connections are ideal for networking printers in an office setting. Wi-Fi and Bluetooth connections provide wireless printing capabilities, allowing you to print from anywhere within the network range.
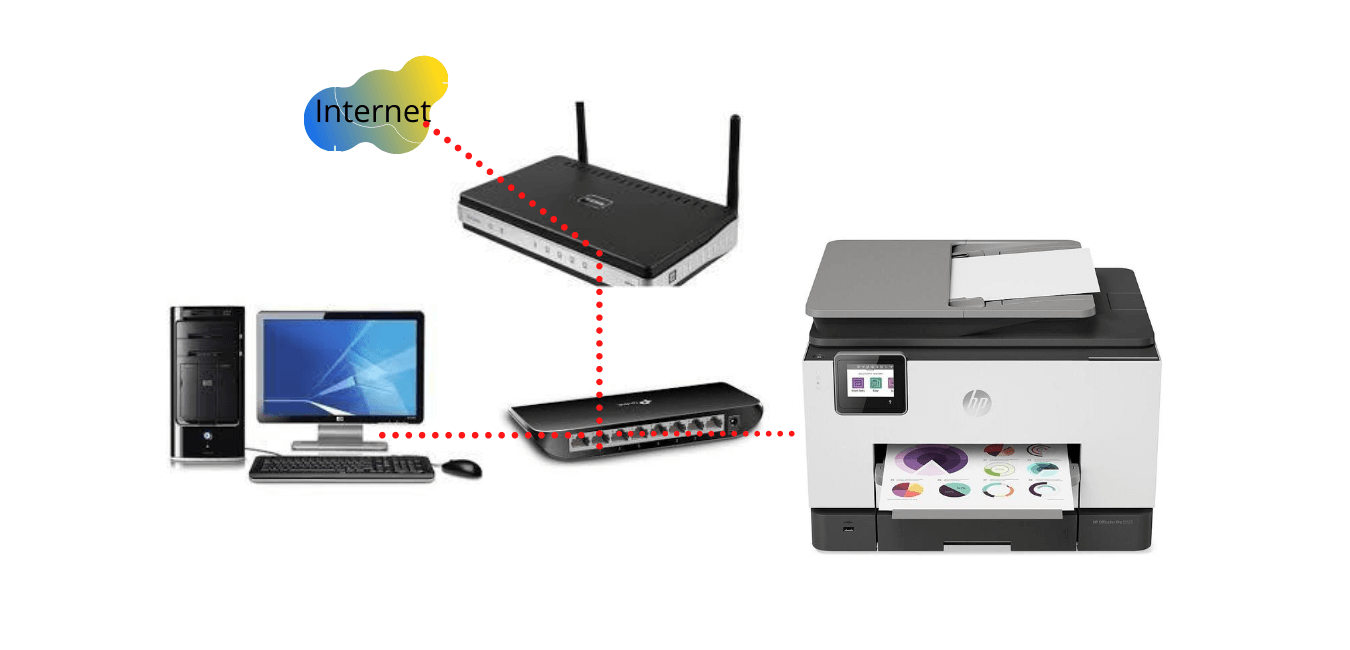
Setting Up Wired Printer Connections:
To set up a wired printer connection, follow these step-by-step instructions:
- Determine the type of connection: Identify whether your printer supports USB or Ethernet connectivity.
- Connect the printer: For USB connections, use a USB cable to connect the printer to your computer. For Ethernet connections, connect one end of an Ethernet cable to the printer and the other end to a network router or switch.
- Install drivers: Install the necessary printer drivers on your computer. In most cases, the drivers are automatically installed when you connect the printer. If not, you can download the drivers from the manufacturer’s website.
- Configure printer settings: Follow the instructions provided by the printer manufacturer to configure the printer settings and ensure proper communication between the printer and your computer.
Configuring Wireless Printer Connections:
To set up a wireless printer connection, follow these step-by-step instructions:
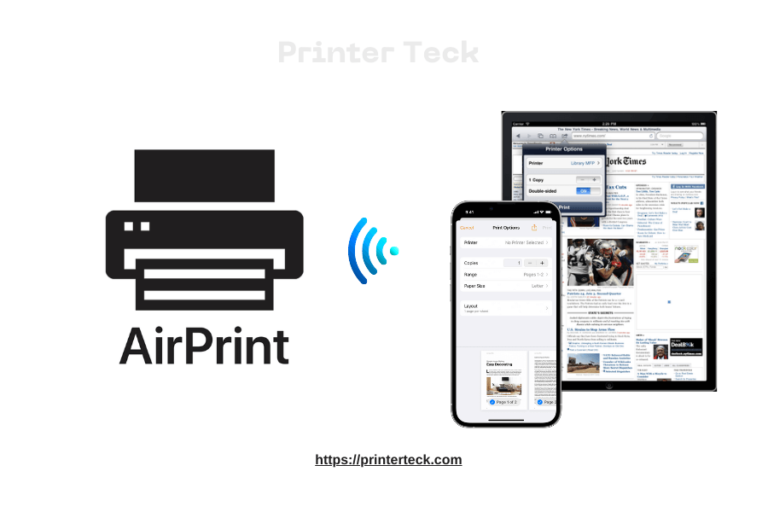
- Check printer compatibility: Ensure that your printer supports wireless connectivity, such as Wi-Fi or Bluetooth.
- Connect the printer to the network: Access the printer’s settings menu and select the Wi-Fi or Bluetooth option. Follow the on-screen instructions to connect the printer to your wireless network.
- Install drivers and software: Download and install the appropriate printer drivers and software on your computer or mobile device. These can be obtained from the manufacturer’s website or provided with the printer.
- Add the printer: Open the printer settings on your computer or mobile device and add the wireless printer. The printer should appear in the available printers list. Follow the prompts to complete the setup process.
- Test the connection: Send a test print job to the printer to ensure that the wireless connection is functioning properly.
Example: Setting up a Wireless Printer Connection
Let’s consider an example of setting up a wireless printer connection. In this scenario, we have a Wi-Fi-enabled printer and a laptop connected to the same Wi-Fi network. To establish the wireless connection, follow these steps:
- Power on the printer and navigate to the wireless setup menu on the printer’s control panel.
- Select the Wi-Fi network from the available network list.
- Enter the network credentials, such as the Wi-Fi password, if prompted.
- Once the printer is connected to the Wi-Fi network, install the printer drivers on your laptop.
- Open the printer software on your laptop, and select the wireless printer from the list of available printers.
- Follow the on-screen instructions to complete the driver installation process.
- Test the wireless connection by sending a print job to the printer.
Troubleshooting Printer Connectivity Issues:
Despite careful setup, you may encounter connectivity issues with your printer. Here are some troubleshooting tips to resolve common printer connectivity problems:
- Check network connection: Ensure that your computer or mobile device is connected to the same network as the printer.
- Restart devices: Power off and restart your printer, computer, and network router to refresh the connections.
- Update drivers and firmware: Check for updated printer drivers and firmware on the manufacturer’s website and install them if necessary.
- Verify printer settings: Double-check the printer settings, such as Wi-Fi or Bluetooth configuration, IP address, and subnet mask.
- Temporarily disable firewall or antivirus software: Some security software may block printer communication. Temporarily disable the firewall or antivirus software to check if it resolves the issue.
- Seek technical support: If you are unable to resolve the connectivity problem, contact the printer manufacturer’s support or consult an IT professional for assistance.
Read also: The Best 3 Wireless Laser Printers In 2024
Conclusion:
Efficient printer connectivity and network setup simplify your printing tasks, enable convenient printing from multiple devices, and enhance productivity. By following the provided instructions and troubleshooting tips, you can establish reliable connections and enjoy seamless printing capabilities. Remember to consult your printer’s manual or manufacturer’s website for specific instructions tailored to your printer model and network environment.