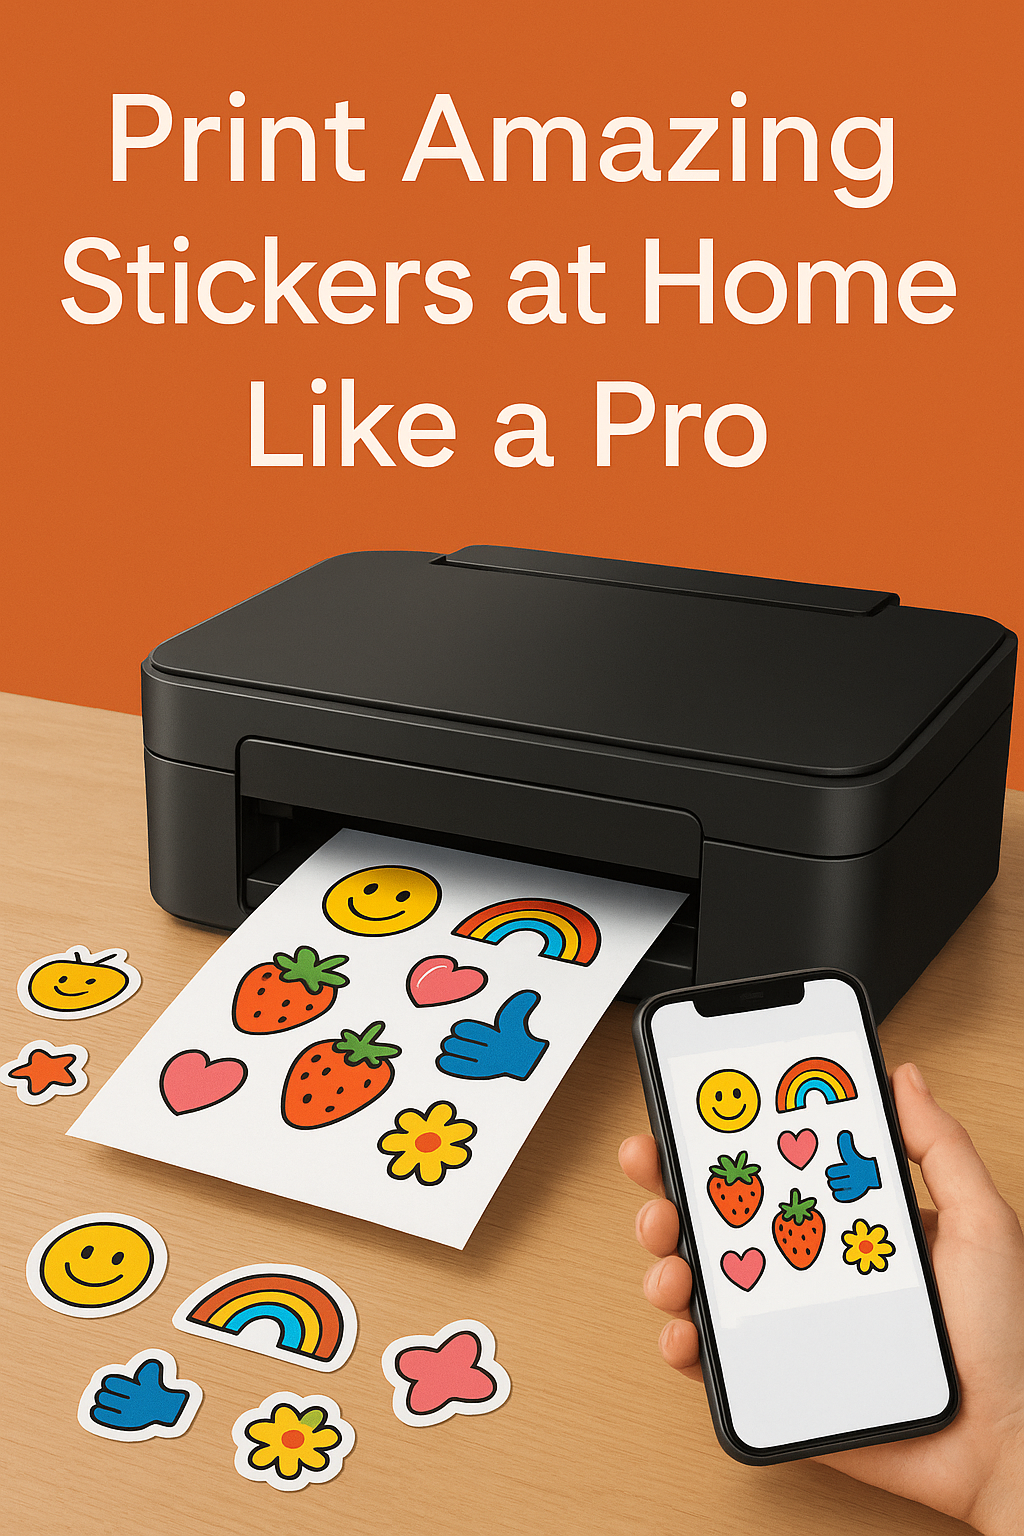
Print Amazing Stickers at Home Like a Pro
In today’s creative economy, stickers aren’t just for scrapbooks or school binders—they’ve become powerful tools for branding, personalization, and expression. Whether you’re an Etsy seller, a small business owner, or a craft enthusiast, the ability to print high-quality stickers at home can save money and give you full creative control.
But not all sticker prints are created equal. Without the right tools and know-how, your prints can smudge, fade, or misalign. With the right printer, materials, and techniques, though, your homemade stickers can look commercial-grade, rivaling professional print shops.
Quick Navigations
- 1 1. Choosing the Right Printer for Sticker Printing
- 2 2. Selecting the Best Sticker Paper for Your Project
- 3 3. Designing Stickers for Print: Software & File Prep
- 4 4. Print Settings That Make a Difference
- 5 5. Drying, Curing, and Protecting Your Stickers
- 6 6. Cutting Your Stickers: Tools and Techniques
- 7 7. Troubleshooting Common Sticker Printing Problems
- 8 8. Storage and Application Tips for DIY Stickers
- 9 9. Selling Your Stickers Online: Quality Matters
- 10 10. Eco-Friendly and Budget-Friendly Printing Options
- 11 11. Bonus: Creative Sticker Ideas You Can Print at Home
- 12 Stickers That Stick—and Impress
1. Choosing the Right Printer for Sticker Printing
Inkjet vs. Laser: What’s Best for Stickers?
| Printer Type | Pros | Cons |
|---|---|---|
| Inkjet | Excellent color depth, works with glossy and matte papers | Slower, ink can smudge if not set properly |
| Laser | Sharp text, toner is waterproof and fast-drying | Limited media compatibility, heat can damage certain sticker papers |
Recommendation: Inkjet printers are generally better for colorful, photo-quality stickers. Look for models with pigment-based inks for durability and fade resistance.
Top Inkjet Printers for Stickers (2025 Picks)
- Canon PIXMA Pro-200 – Superb for photo stickers
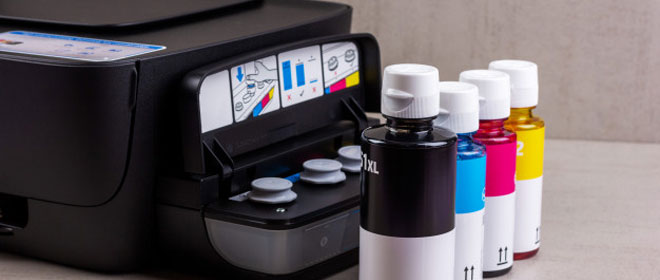
- Epson EcoTank ET-2850 – Cost-efficient, cartridge-free
- HP ENVY Inspire 7955e – Budget-friendly and versatile
2. Selecting the Best Sticker Paper for Your Project
Not all sticker paper is created equal. The type you choose will affect print quality, adhesion, and water resistance.
Types of Sticker Paper
| Type | Finish | Best For |
|---|---|---|
| Glossy | Shiny and vibrant | Colorful designs, photo stickers |
| Matte | Non-reflective, elegant | Text-based, minimal stickers |
| Clear | Transparent backing | Glass, product packaging |
| Waterproof Vinyl | Durable and weather-resistant | Outdoor labels, laptop decals |
Pro Tip: Always match your sticker paper to your printer type—laser paper for laser printers, inkjet paper for inkjets. Using the wrong type can cause smearing or paper jams.
3. Designing Stickers for Print: Software & File Prep
Before you hit “print,” your design must be optimized for clarity, cut precision, and visual impact.
Recommended Design Software
- Adobe Illustrator or Photoshop – Pro-level tools with CMYK control
- Canva – Beginner-friendly with pre-sized sticker templates
- Silhouette Studio / Cricut Design Space – For integrated cutter workflows
Design Tips
- Set resolution to at least 300 DPI for sharp output
- Use CMYK color mode (not RGB) to match print colors
- Include cut lines or bleed areas if using a cutting machine
- Avoid overly dark backgrounds if printing on clear or matte stock
4. Print Settings That Make a Difference
Getting settings right is just as important as using quality materials.
Optimizing Your Printer Settings
- Paper Type: Choose “Photo Paper” or “Glossy Paper” for coated sticker sheets
- Print Quality: Set to “High” or “Best” to boost detail
- Scale: Print at 100%—avoid “fit to page” if using pre-cut labels
- Mirror Image: For iron-on vinyl only—not needed for stickers
Color Matching Tip
- Use your printer’s ICC profiles (found in advanced settings) to match screen colors with printed output more accurately.
5. Drying, Curing, and Protecting Your Stickers
Drying Time
- Inkjet prints can take 10–30 minutes to fully dry.
- Avoid touching the printed area immediately after printing.
How to Seal Inkjet Stickers
- Spray sealants: Use clear acrylic spray or laminate spray to prevent smearing.
- Self-adhesive laminating sheets: Add a protective top layer.
- Thermal lamination: For waterproof, professional-quality stickers.
Note: Toner-based laser prints are naturally waterproof and don’t need sealing.
6. Cutting Your Stickers: Tools and Techniques
If you’re not using pre-cut labels, you’ll need to cut your stickers accurately.
Cutting Options
| Method | Tools Needed | Best For |
|---|---|---|
| Scissors or Craft Knife | Precision blade, metal ruler | Small batches, simple shapes |
| Circle or punch cutters | Manual punchers | Logo stickers, labels |
| Cricut or Silhouette machine | Computer + cutter | Custom shapes, mass production |
Cutting Tip: For kiss-cut or die-cut stickers, use vector paths in your design software and export as SVG or PNG.
7. Troubleshooting Common Sticker Printing Problems
| Problem | Possible Cause | Solution |
|---|---|---|
| Colors look faded | Low print quality, wrong paper type | Use “Best” setting and premium paper |
| Ink smudging | Ink not dry, incompatible paper | Use compatible paper and seal ink |
| Misaligned prints | Printer scaling issues | Print at 100% with registration marks |
| Paper jams | Wrong thickness or feeding method | Use manual feed tray for thick vinyl |
8. Storage and Application Tips for DIY Stickers
How to Store Homemade Stickers
- Store in a cool, dry place
- Use plastic sleeves or folders to prevent bending
- Avoid sunlight to reduce fading
Best Practices for Application
- Clean the surface with alcohol wipes before applying
- Peel slowly from one edge to avoid curling
- Use a credit card or scraper to smooth out air bubbles
Bonus Tip: Let stickers sit 24 hours before outdoor exposure for maximum adhesion.
9. Selling Your Stickers Online: Quality Matters
If you plan to turn your hobby into a hustle, consistency and quality are key.
Platform Suggestions
- Etsy
- Shopify
- Redbubble (for POD)
- Instagram Shops
Customer Expectations
- Sharp, smudge-free designs
- Durable backing (waterproof or weather-resistant)
- Clean cuts and professional packaging
Packaging Ideas
- Use glassine envelopes or cellophane bags
- Add branded inserts or thank-you notes
- Include social handles for easy reorders
10. Eco-Friendly and Budget-Friendly Printing Options
Save Ink Without Sacrificing Quality
- Use EcoFont or thinner fonts
- Print multiple designs per sheet
- Choose EcoTank or Instant Ink printers for refillable ink savings
Eco-Conscious Materials
- Choose recycled sticker paper
- Use biodegradable film or compostable paper
- Recycle waste backing sheets properly
11. Bonus: Creative Sticker Ideas You Can Print at Home
Stickers aren’t just decorative—they can serve multiple functions.
Creative Use Cases
- Planner and bullet journal labels
- Product packaging seals
- Business logos and thank-you tags
- Laptop or water bottle decals
- Custom address labels
- Kids’ name tags and rewards
Let your creativity run wild. Personalized stickers add a special touch to gifts, marketing, and everyday life.
Stickers That Stick—and Impress
Great sticker printing from home is totally achievable—with the right materials, printer settings, and a little patience. Whether you’re printing custom labels for your business, planner stickers for your organization, or photo decals for fun, these tips will ensure each print looks polished, durable, and uniquely yours.
When you understand your equipment, prep your files correctly, and use high-quality materials, your stickers won’t just stick—they’ll stand out.

