How to Clean Your Printer’s Printhead
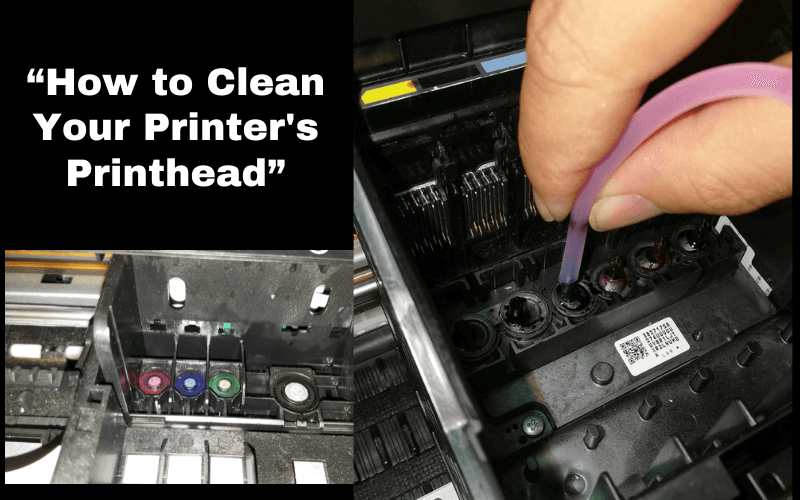
Printers are essential tools for both home and office use, but over time, you may notice print quality issues caused by a dirty printhead. Fear not! In this guide, we’ll walk you through the process of cleaning your printer’s printhead step by step. Follow these instructions, and you’ll have your printer producing crisp and clear documents in no time.
Quick Navigations
Printer’s Printhead Cleaning
Why Cleaning Your Printhead Matters
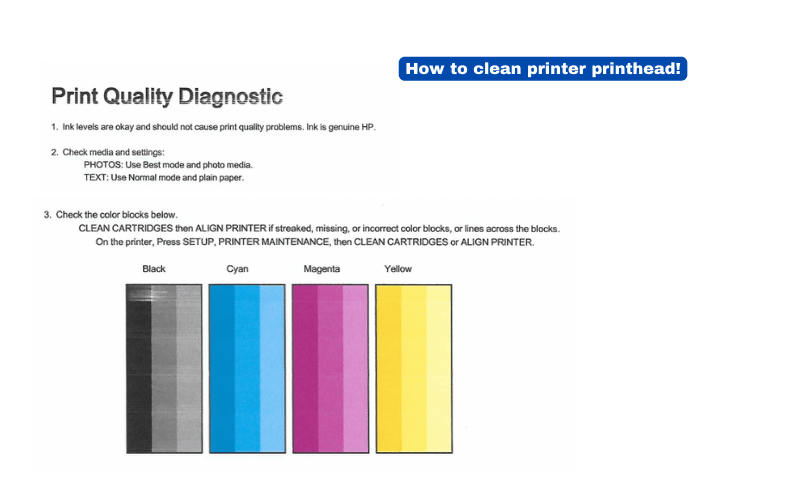
Before we dive into the cleaning process, let’s understand why it’s crucial to maintain a clean printhead. A clogged printhead can result in:
- Faded or streaky prints.
- Misaligned colors.
- Ink smudges.
- Print errors and interruptions.
- When to Clean Your Printhead
Before we proceed, determine if your printhead needs cleaning. Look for these signs:
- Poor print quality.
- Lines or streaks on prints.
- Incomplete prints.
- Printer error messages related to printhead issues.
- What You’ll Need
Before you start cleaning, gather the following supplies:
- Distilled water.
- Lint-free cloth or coffee filter.
- Isopropyl alcohol (optional).
- Gloves (optional).
Step-by-Step Cleaning Guide
Follow these steps to clean your printer’s printhead effectively:
Prepare Your Workspace: Start by turning off your printer and unplugging it from the power source. Clear any clutter around the printer to create a clean workspace.
Access the Printhead: Open your printer as if you were replacing the ink cartridges. Locate the printhead, which is usually near the ink cartridges.
Remove Ink Cartridges: Carefully remove the ink cartridges from the printhead. Set them aside on a clean surface.
Inspect the Printhead: Examine the printhead for visible dirt, dried ink, or residue. If you see any, proceed with cleaning.
Clean with Distilled Water:
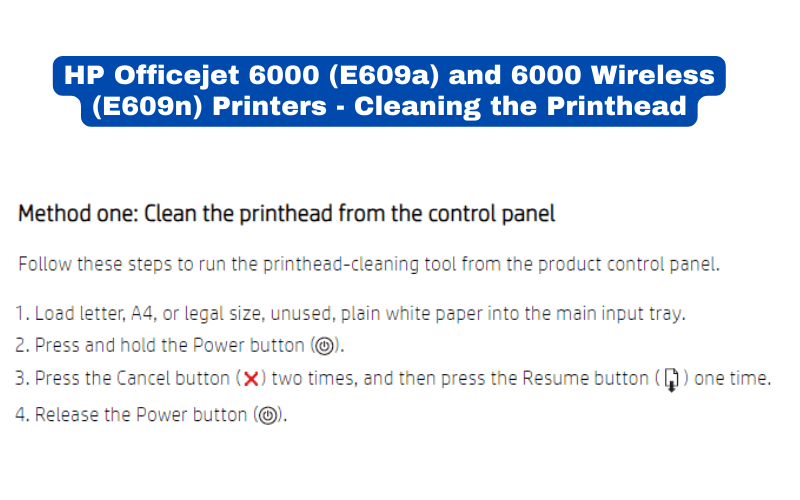
- Moisten the lint-free cloth or coffee filter with distilled water.
- Gently wipe the printhead in one direction to avoid smudging.
- Repeat until the printhead is clean.
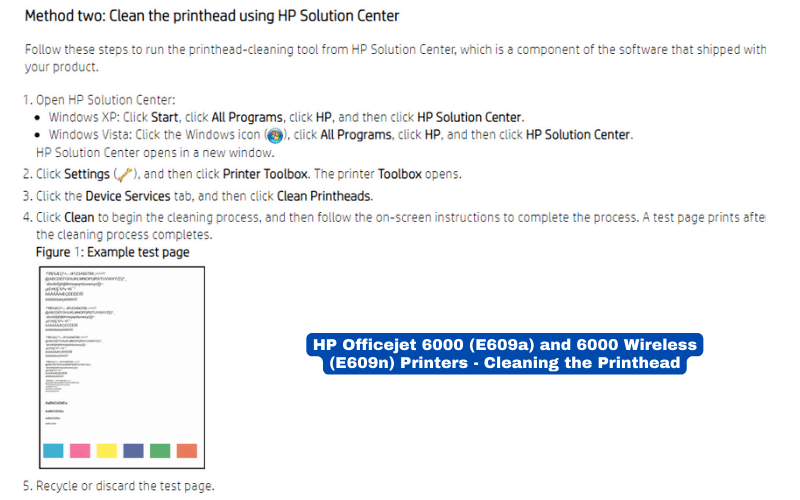
Optional: Use Isopropyl Alcohol:
- If stubborn residue persists, dampen a clean cloth with isopropyl alcohol.
- Wipe the printhead gently, following the same one-directional motion.
Allow to Dry: Ensure the printhead is completely dry before reinserting the ink cartridges. This may take a few minutes.
Reassemble and Test: Put the ink cartridges back in their respective slots and close the printer cover. Plug the printer back in, power it on, and print a test page to check the print quality.
Maintaining a clean printhead is essential for keeping your printer in top shape. Regular cleaning can extend your printer’s lifespan and ensure consistently high-quality prints. By following this step-by-step guide, you can easily clean your printer’s printhead and enjoy clear and vibrant printouts once again.

